> ## Documentation Index
> Fetch the complete documentation index at: https://vastai-80aa3a82-ltxv2-serverless.mintlify.site/llms.txt
> Use this file to discover all available pages before exploring further.
# Creating Templates for GROBID
## Introduction
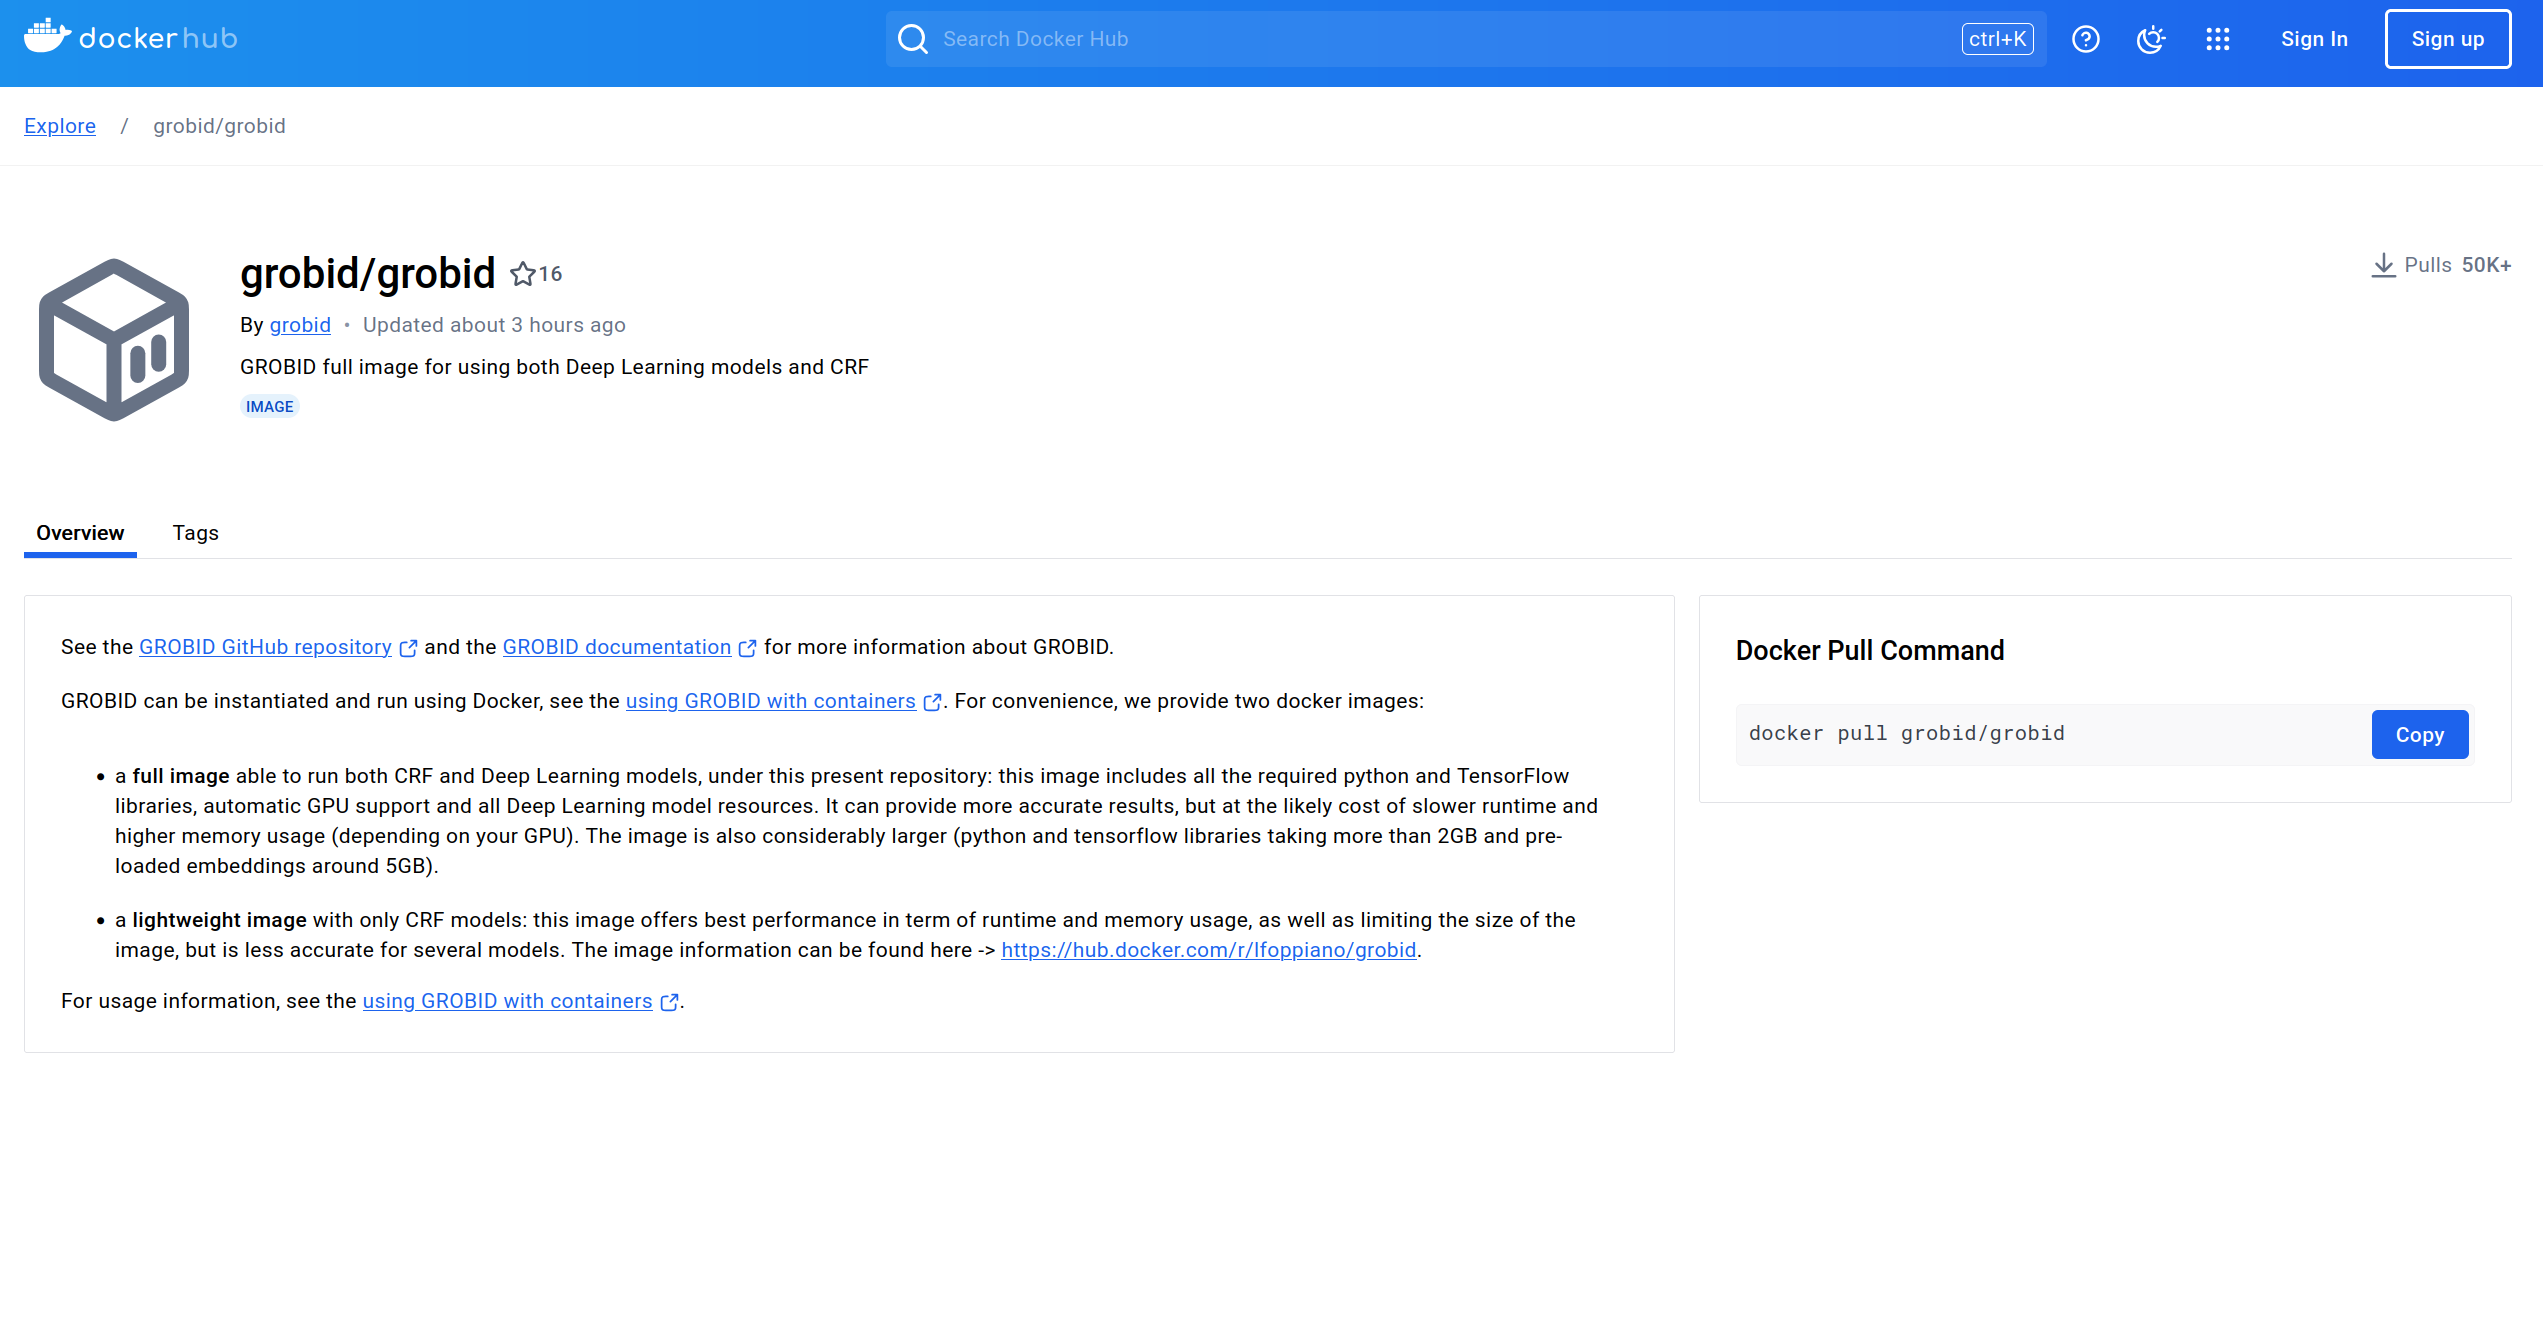
This guide demonstrates creating a template using an existing Docker image. See our [Creating Templates](/documentation/templates/creating-templates) guide for more details on template configuration. We will be using the image from [GROBID on dockerhub](https://hub.docker.com/r/grobid/grobid).
## Find The Image and Tag You Want to Use
### Step 1 - Find a Suitable Image
There are multiple GROBID images in dockerhub, but for this guide we will be using the official GROBID image.
### Step 2 - Selecting the Version Tag
If you don't already have a version you intend to use, we recommend selecting the latest stable version.
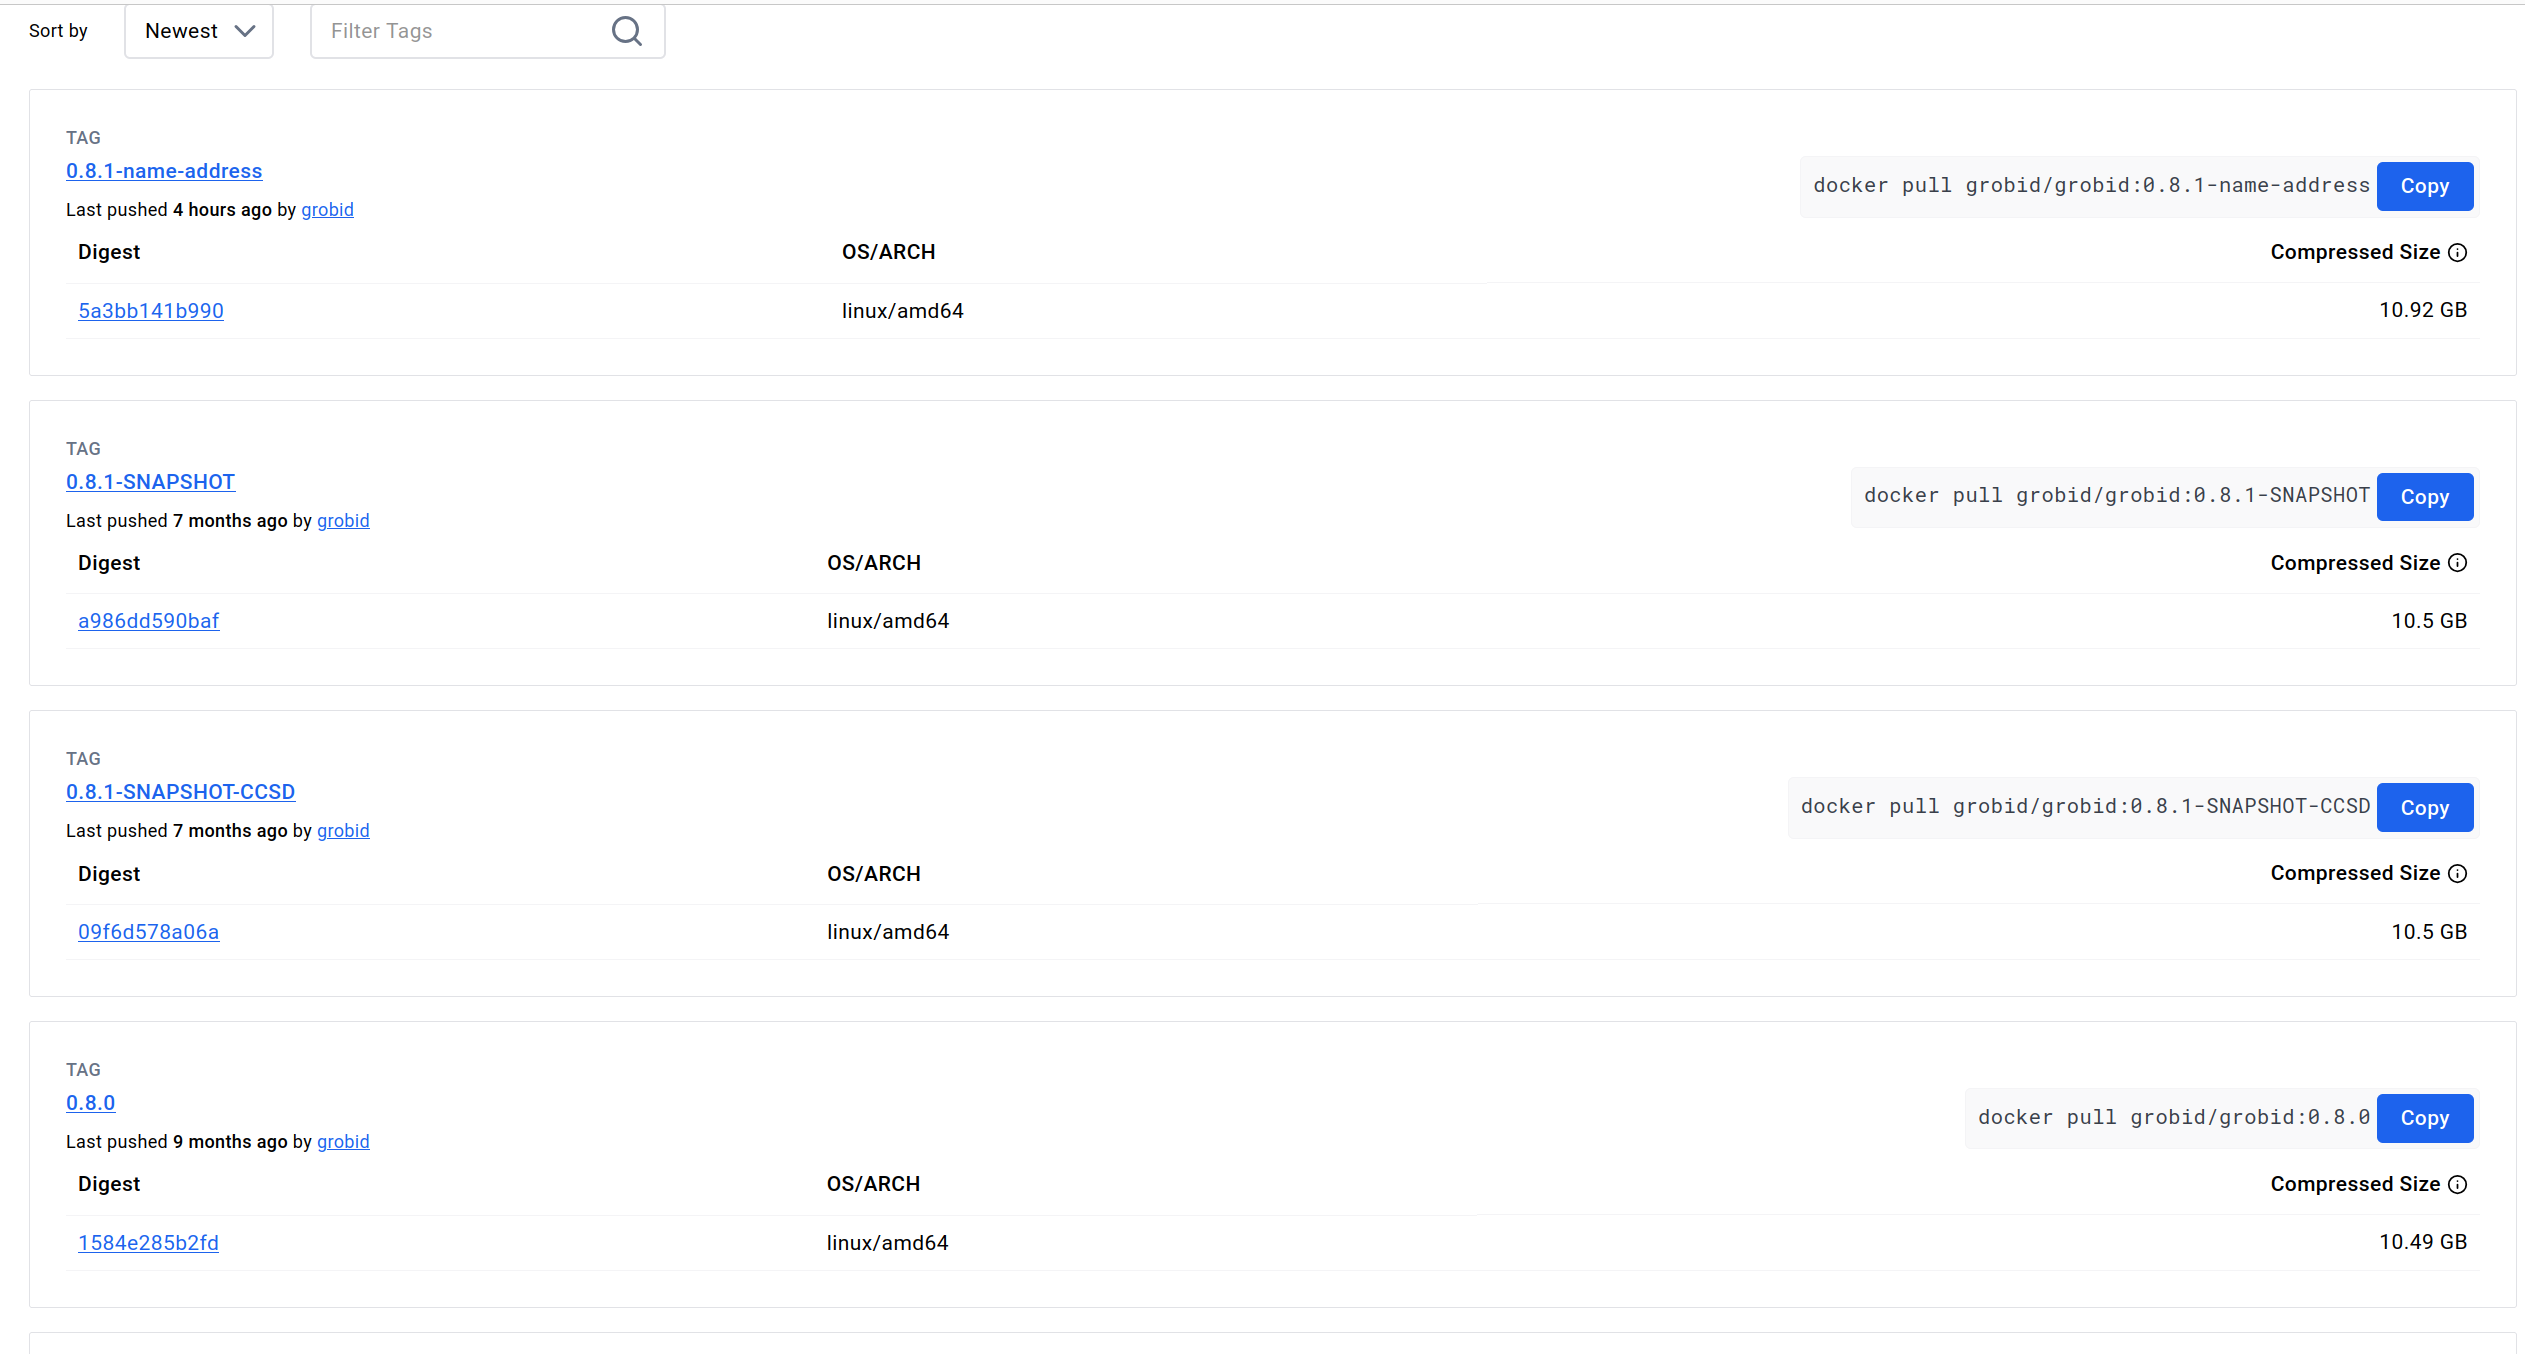
At the time of writing, the current stable version is 0.8.0, so that is the version we'll be using here.
## Configuring The Template
### Step 1 - Setting Your Chosen Image and Tag in Your Vast.ai Template
In the Docker Repository And Environment section, you will enter your image path and tag.

### Step 2 - Map Ports and Specify Your Image and Tag Combination
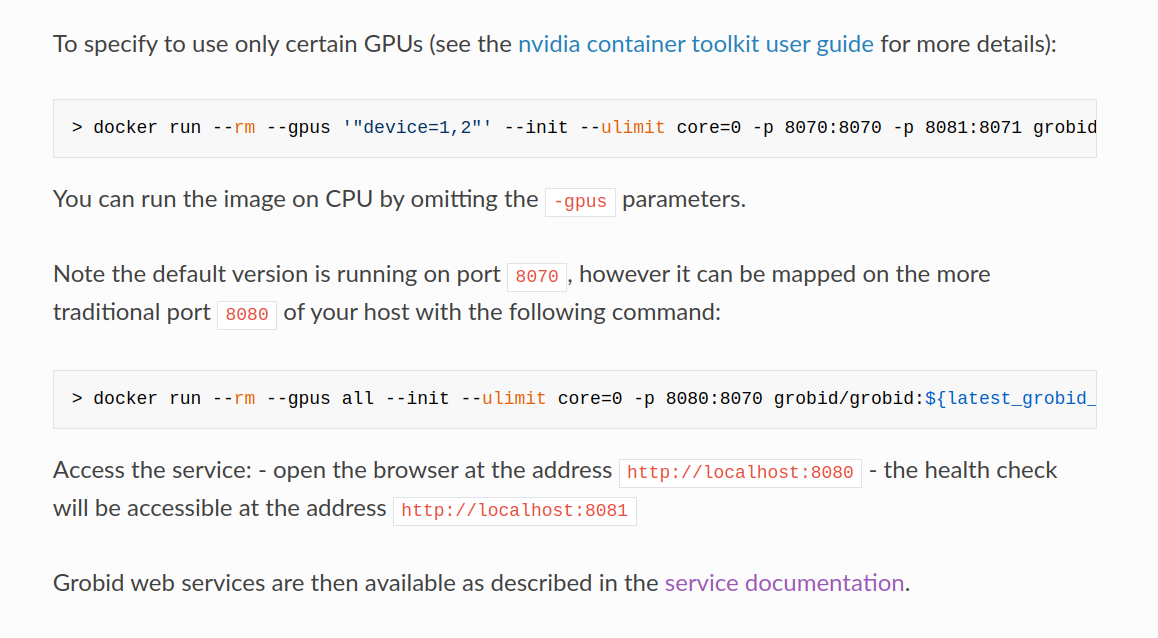
The overview page for this image at dockerhub has a link to their guide to [using GROBID with containers](https://grobid.readthedocs.io/en/latest/Grobid-docker/#crf-and-deep-learning-image), which you can read to get their recommendations for containerizing GROBID.
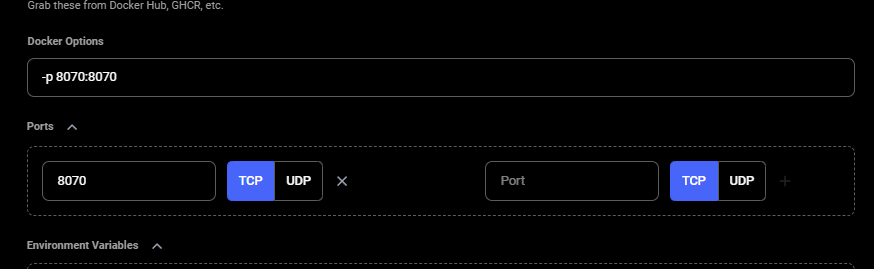
As we follow their guide to containerizing GROBID, we'll need to make sure the container's port 8070 is set to the host machine's port 8070. We will do that in the Vast.ai template. We use -p 8070:8070 as one of the docker run options.
**Note:** Vast only allows -e and -p docker run options to set environment variables and expose ports.
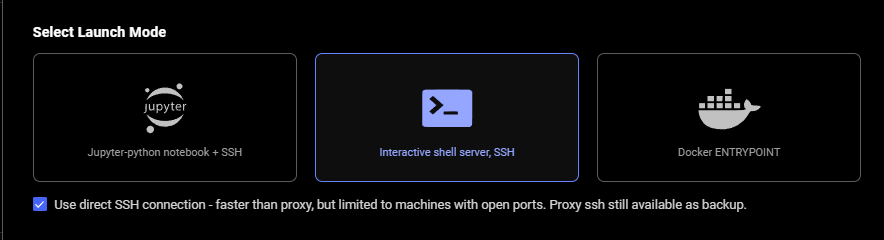
### Step 3 - Select the Launch Mode
Here we will select the SSH launch mode.
### Step 4 - Look for CMD or ENTRYPOINT command
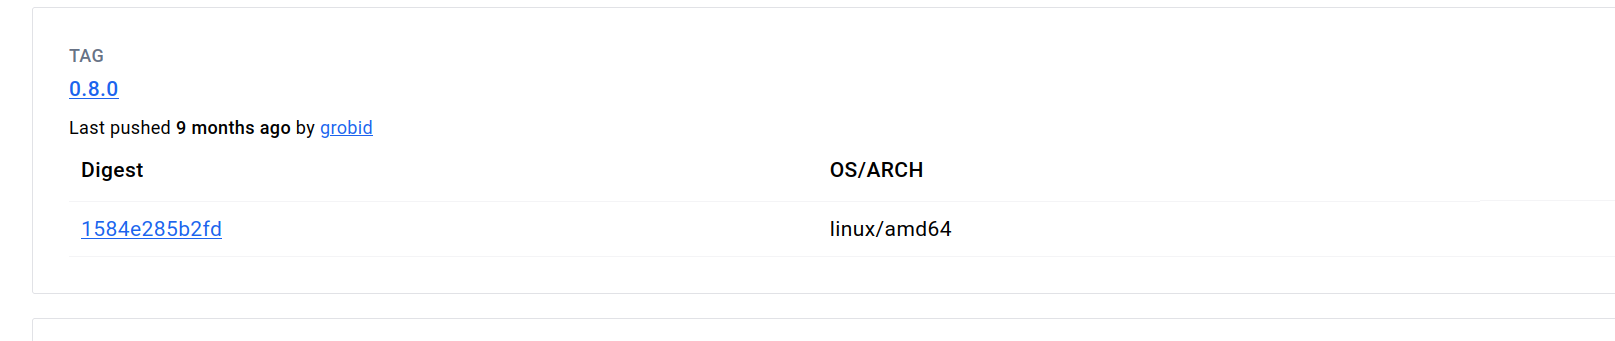
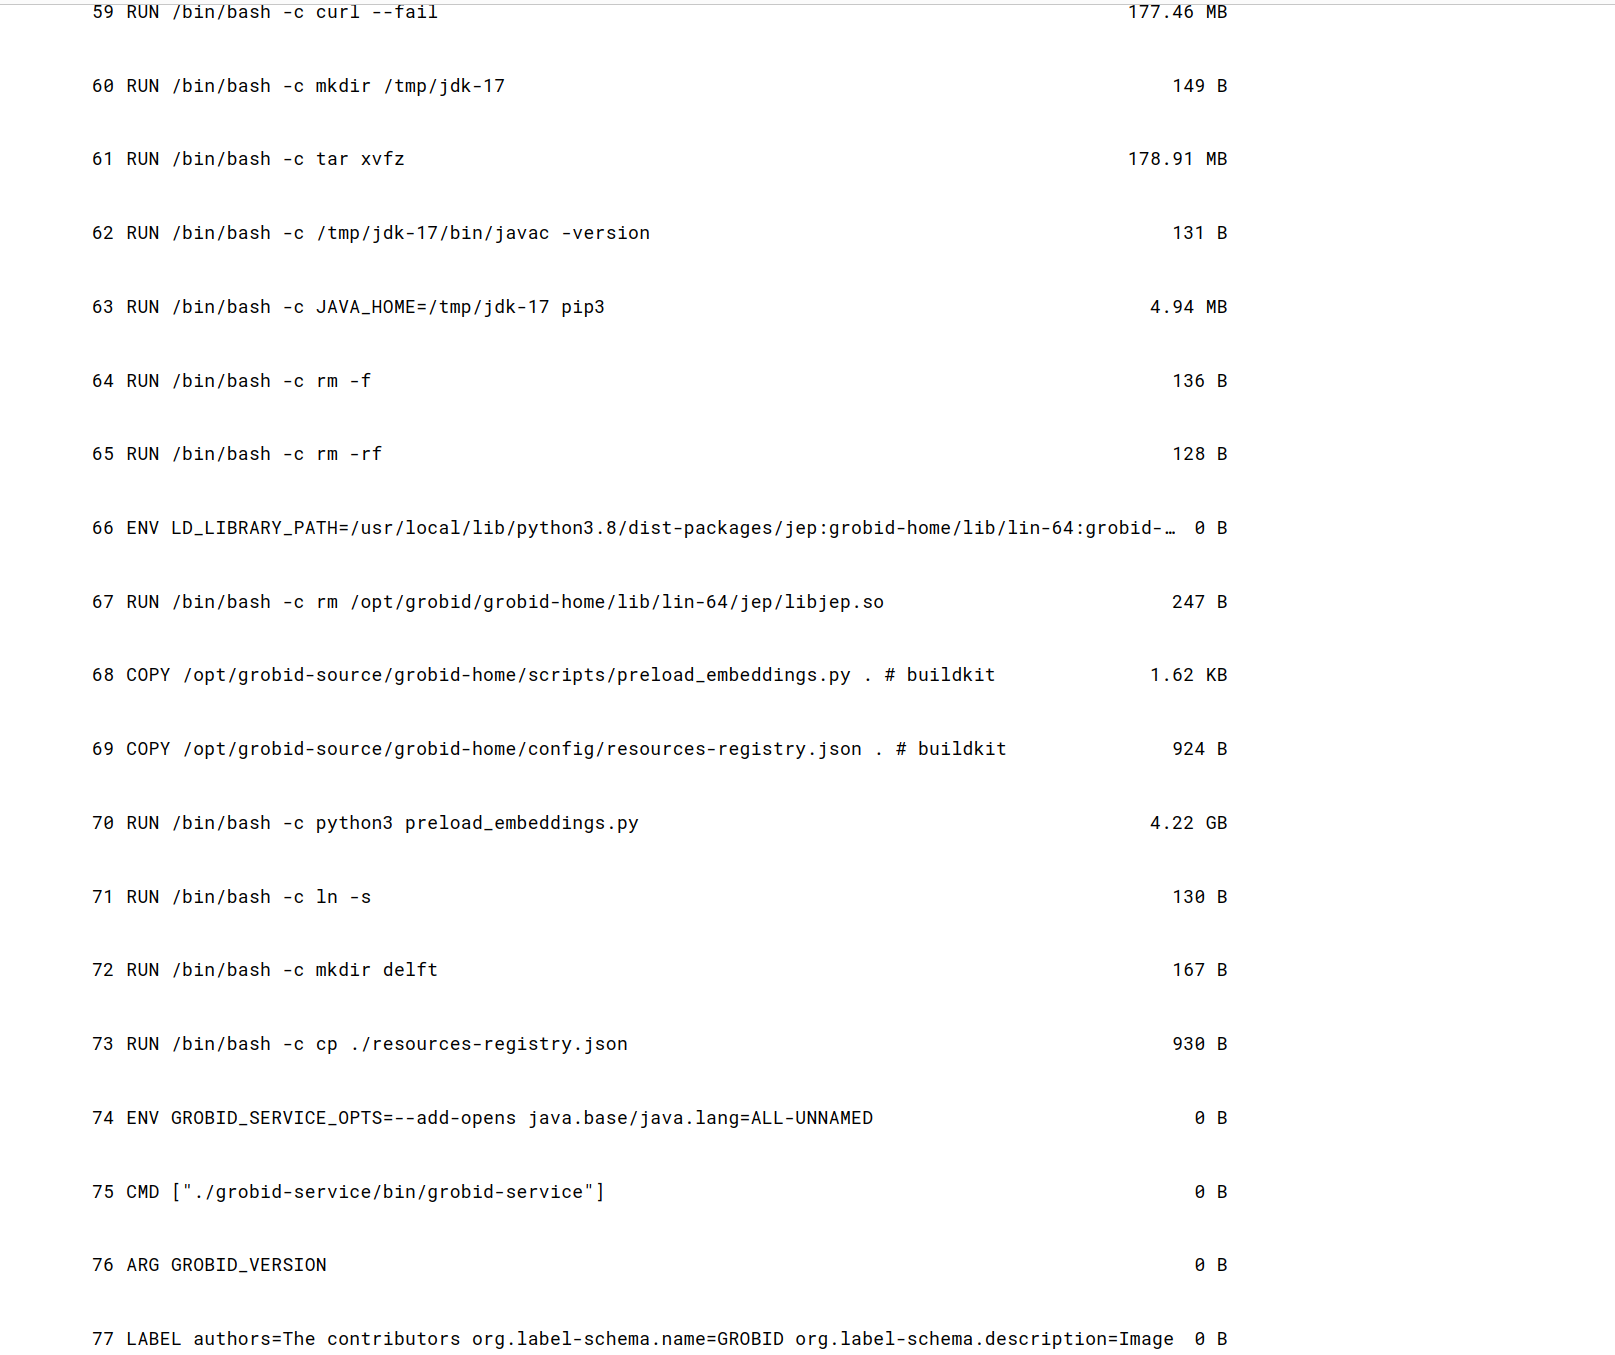
To find this for the template we are creating, we searched the [image's page in Dockerhub](https://hub.docker.com/r/grobid/grobid) and found the **CMD **command in the **Tags** tab under the link "0.8.0" highlighted in blue.
### Step 5 - Fill Out On-start Script section using the CMD command we just found
Next, we add the contents of the **CMD **command to the end of the bash commands section of the **On-start Script** fields.
Also, appended environment variables to /etc/environment file in our on-start section.
 This makes environment variables available to all users and processes and ensures they are persistent even if our instance/docker container is rebooted. We suggest doing the same for your templates.
### Step 6 - Name and Save The Template
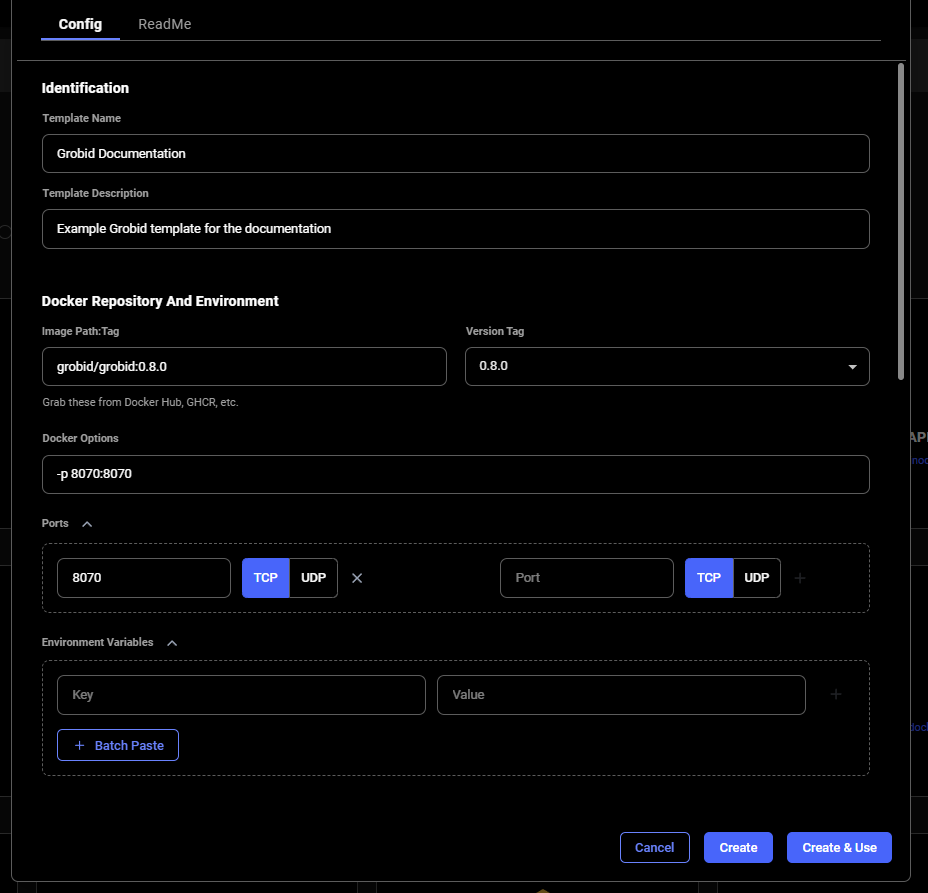
When you are finished setting up your template, If you haven't already done so, specify the template name and description.
Finally, click **Create & Use** to save the template and navigate to the GPU offers search page. You'll notice that your template is selected and ready to be used.
## Rent an Instance Using Your Template and Open GROBID Web App
Once you have selected an instance offer, You'll click on the **INSTANCES **link in the left menu and see your rented GPU instance that has your template applied.
This makes environment variables available to all users and processes and ensures they are persistent even if our instance/docker container is rebooted. We suggest doing the same for your templates.
### Step 6 - Name and Save The Template

When you are finished setting up your template, If you haven't already done so, specify the template name and description.
Finally, click **Create & Use** to save the template and navigate to the GPU offers search page. You'll notice that your template is selected and ready to be used.
## Rent an Instance Using Your Template and Open GROBID Web App
Once you have selected an instance offer, You'll click on the **INSTANCES **link in the left menu and see your rented GPU instance that has your template applied.
 When the instance is done loading and the **>\_CONNECT** state on the blue button appears, you should be able to see the ip range button at the top of the instance card.
 If you click the IP range button you will see a new modal has the IP and port information for your instance. You'll see the port 8070 that we set listed in Open Ports.
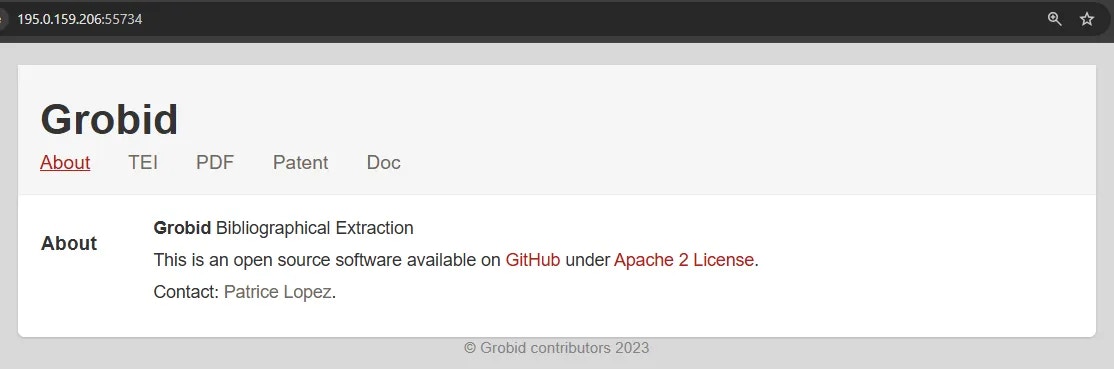
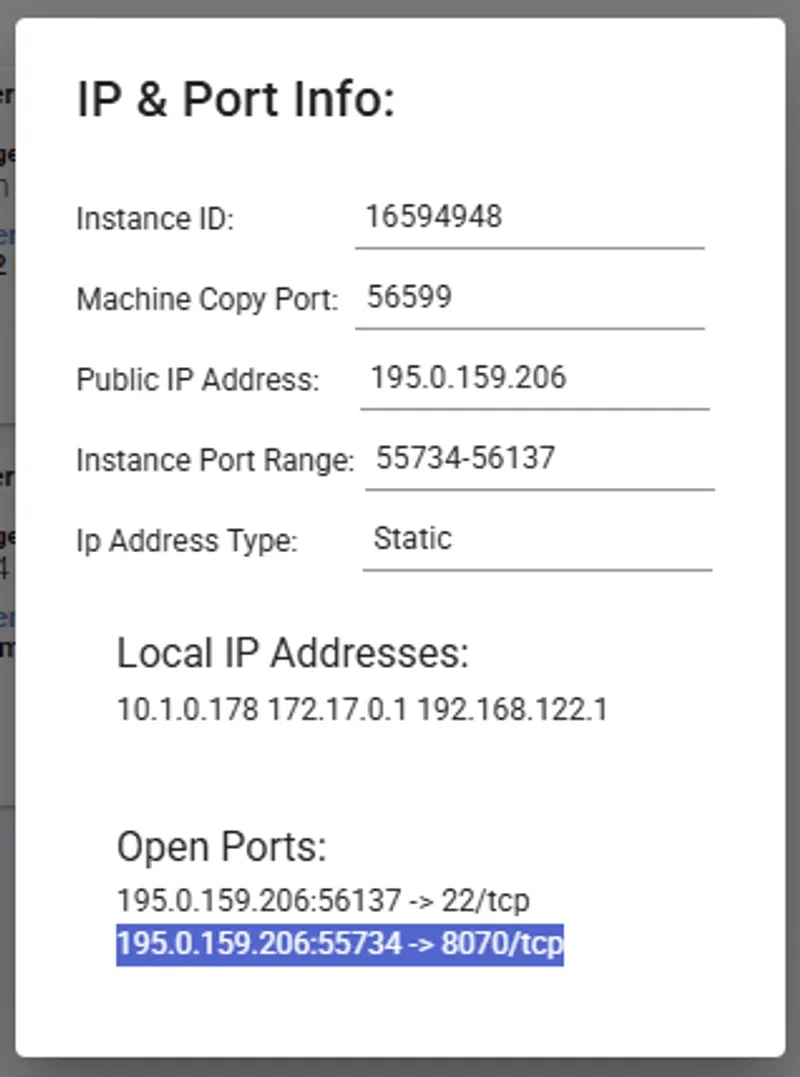 You can copy the machine IP and port and load the address (in this example: 195.0.159.206:55734) in a new browser tab or window. This address will load the GROBID web app.
 ## Additional Resources
[GROBID Documentation](https://grobid.readthedocs.io/en/latest/)
## Additional Resources
[GROBID Documentation](https://grobid.readthedocs.io/en/latest/)